FLASH/CONFIGURATION M5wificom
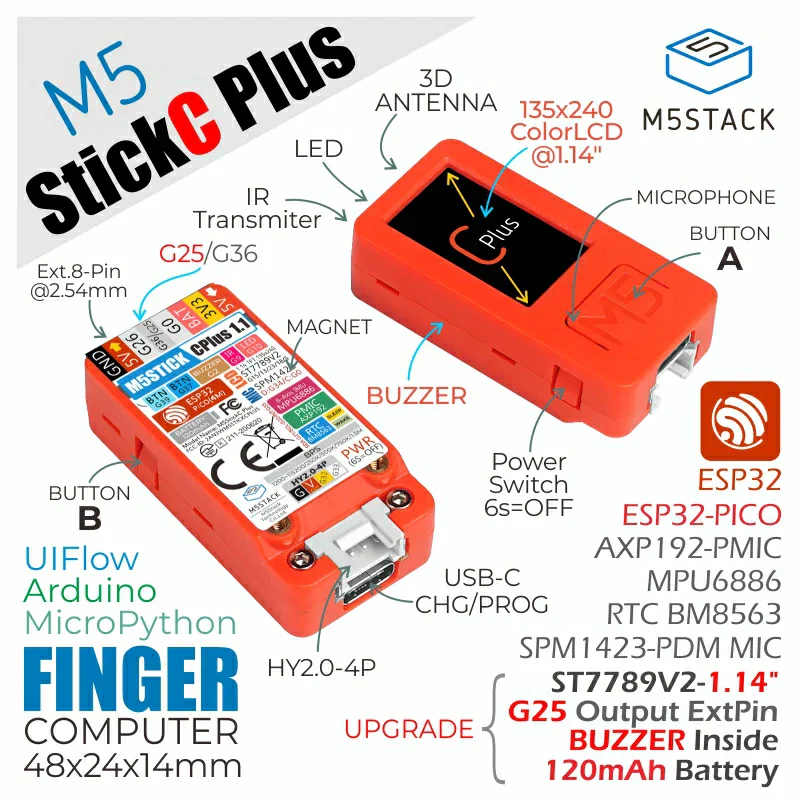
M5StickC-PLUS1
Version beta-2024-11-12
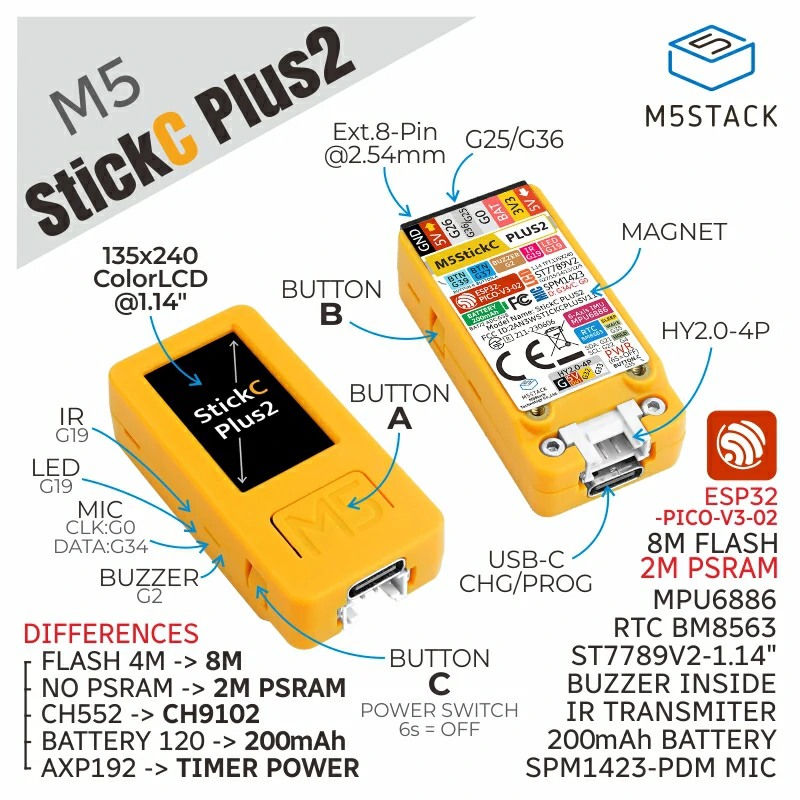
M5StickC-PLUS2
Version beta-2024-11-12
M5wificom Project
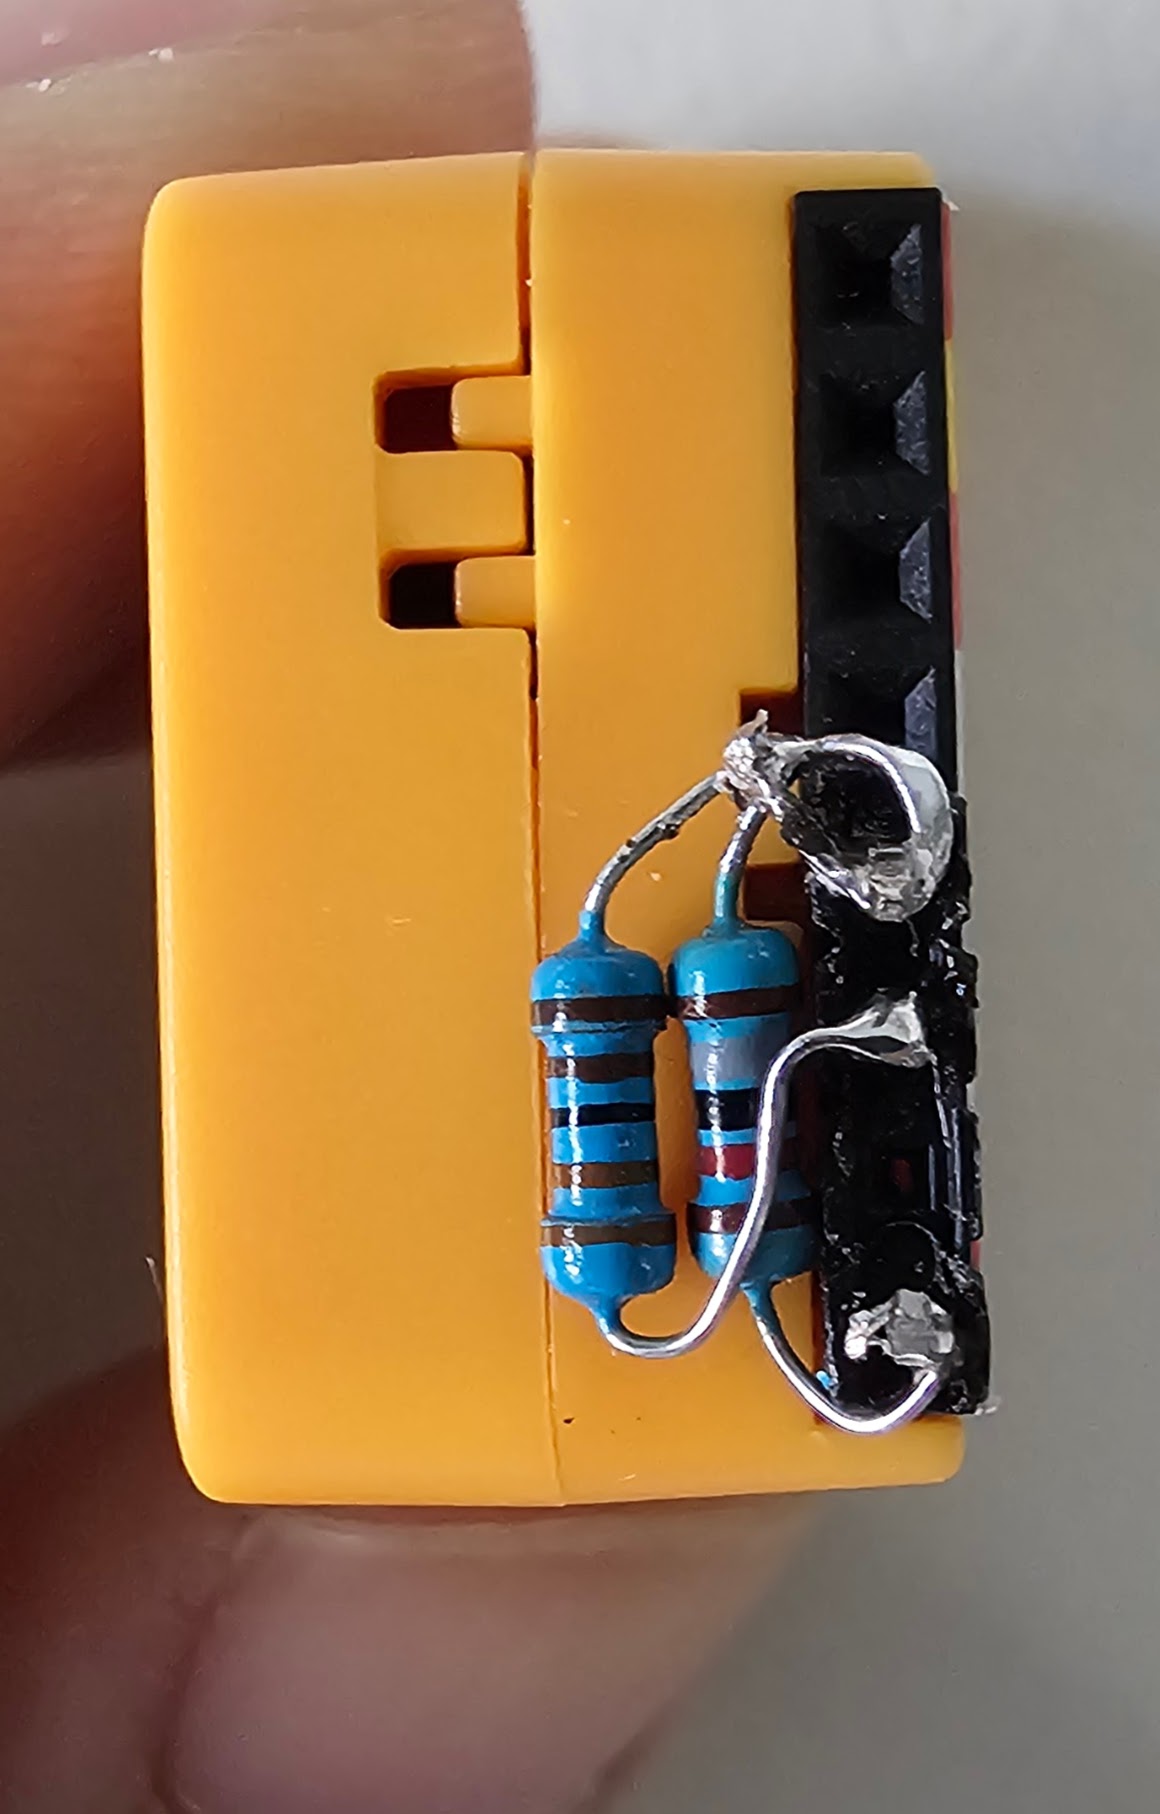
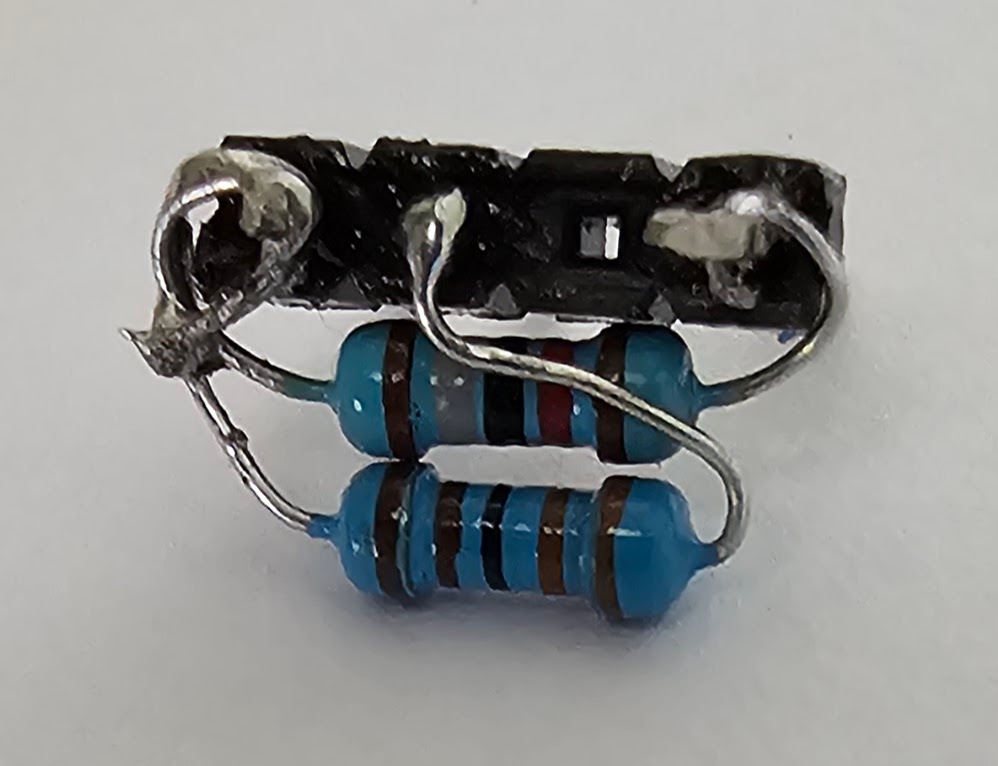
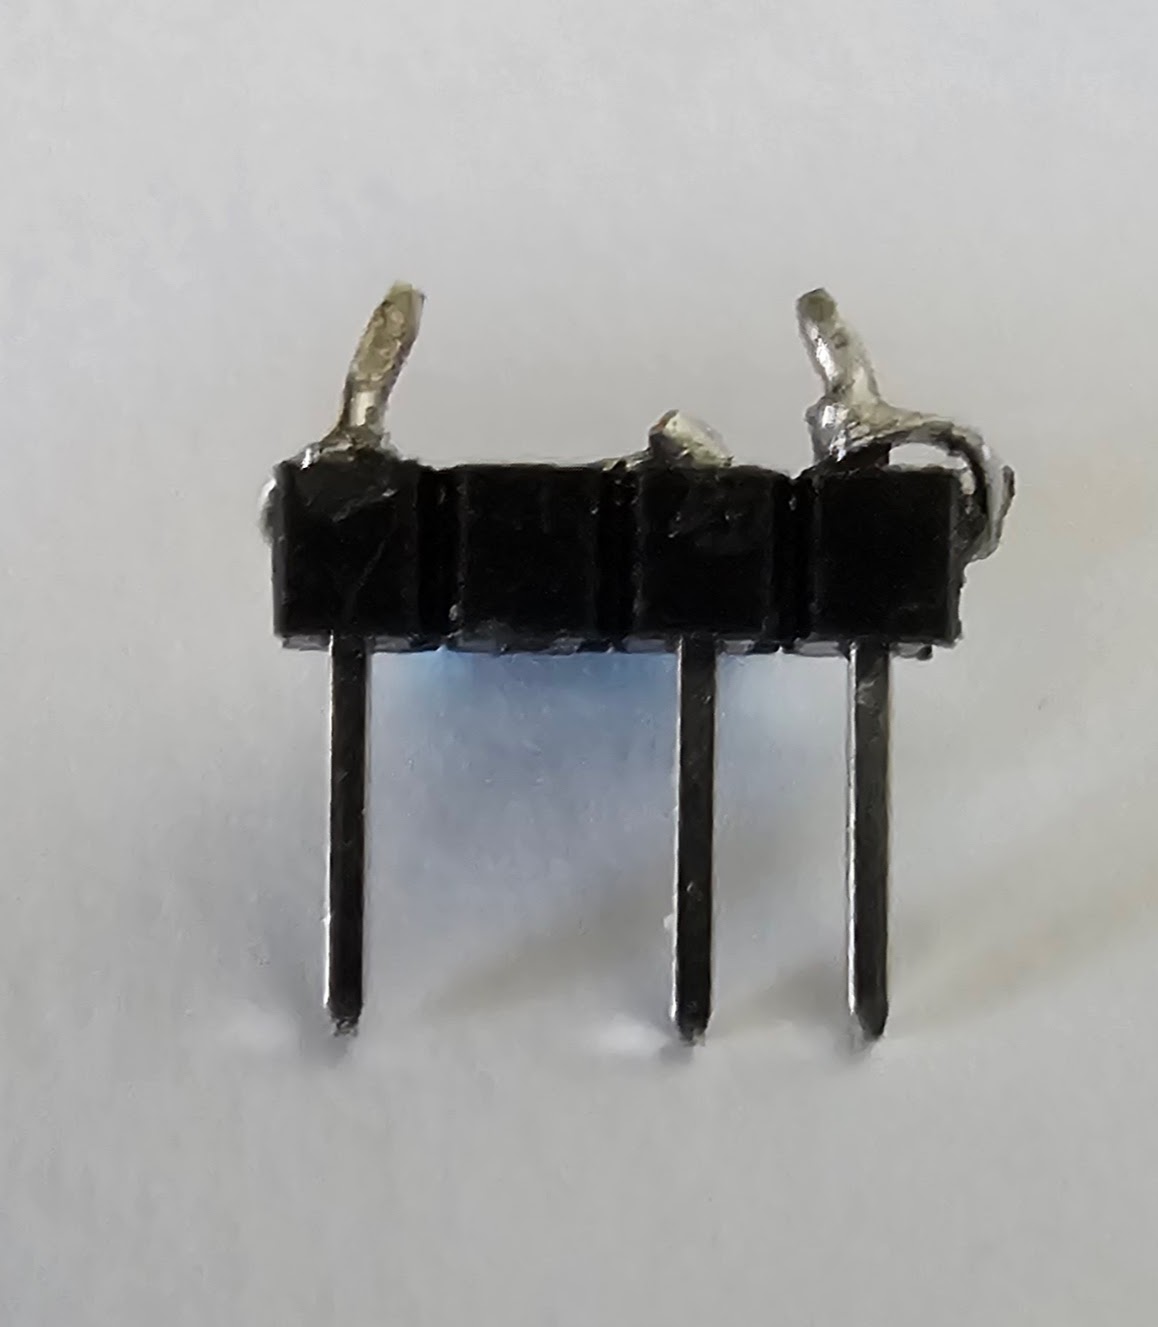
This project uses m5stickc plus board as the base and uses wificom and dmcomm libraries. The acom circuit uses input pin 36 and output pin 26 and uses 3.3k and 18k resistors, connecting the circuit as shown in the picture.

Input pin GPIO36
Output pin GPIO26
R1 1/4w 3.3K
R2 1/4w 18K

Controller m5wifcom
- Button A click = ENTER / hold = RESTART
- Button B click = Down Menu / hold = Back [in punching bag]
- Button PW click = UP Menu in punching bag [plus2 only] / hold = PowerON/OFF
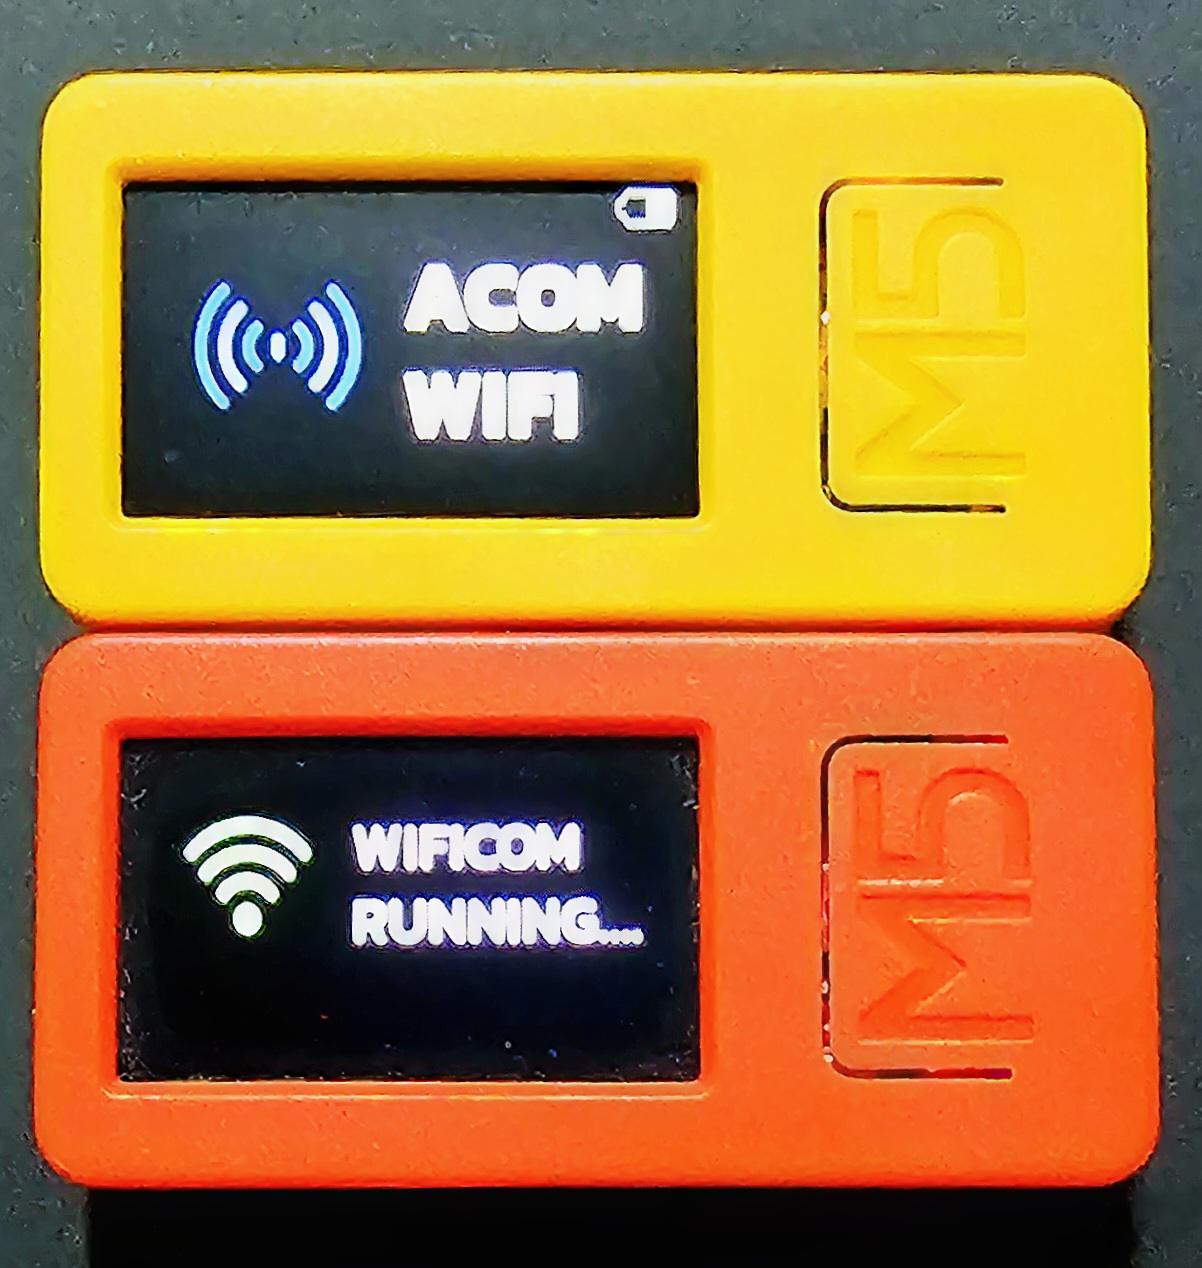
Menu/Screen on m5wifcom

Wificom

Acom usb cable

Punching bag can use digirom on device

Setting wifi and wificom parameter

Turning off device

Wifi and Wificom configuration screen
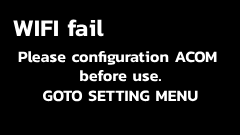
Error screen,cannot connect to WIFI_AP
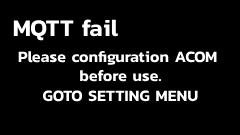
Error screen,cannot connect to Wificom Server
HOW TO FLASH wificom to M5StickC-PLUS/M5StickC-PLUS2
- 1. Connect m5stickc to your PC.
- 2. Open Google Chrome goto m5wificom.n3gp.com [Google Chrome is better]
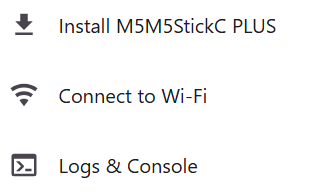
- 3. Press the FLASH/CONFIGURATION button on the web
- 4. Select your m5stack comport if can't see any comport, Please close dialog and install driver from the next dialog and try again.
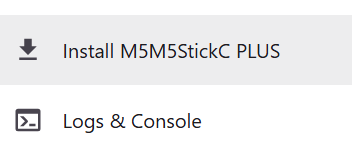
- 5. Press the INSTALL button 2 times on the dialogs.
- 6. Finish!!
HOW TO CONFIGURATION M5StickC-PLUS/M5StickC-PLUS2 to use wificom
- 1. Connect m5stickc to your PC.
- 2. m5stickc,Goto Acom SETTING Menu.
- 3. Open Google Chrome goto m5wificom.n3gp.com [Google Chrome is better]
- 4. Press the FLASH/CONFIGURATION button on the web
- 5. Select your m5stack comport if can't see any comport, Please close dialog and install
driver from the next dialog and try again.
***PC and WIFI_AP must be in same networking at configuration.*** - 6. Press the Connect to Wi-Fi button and follow the instructions in that dialog.
- 7. Finish!!